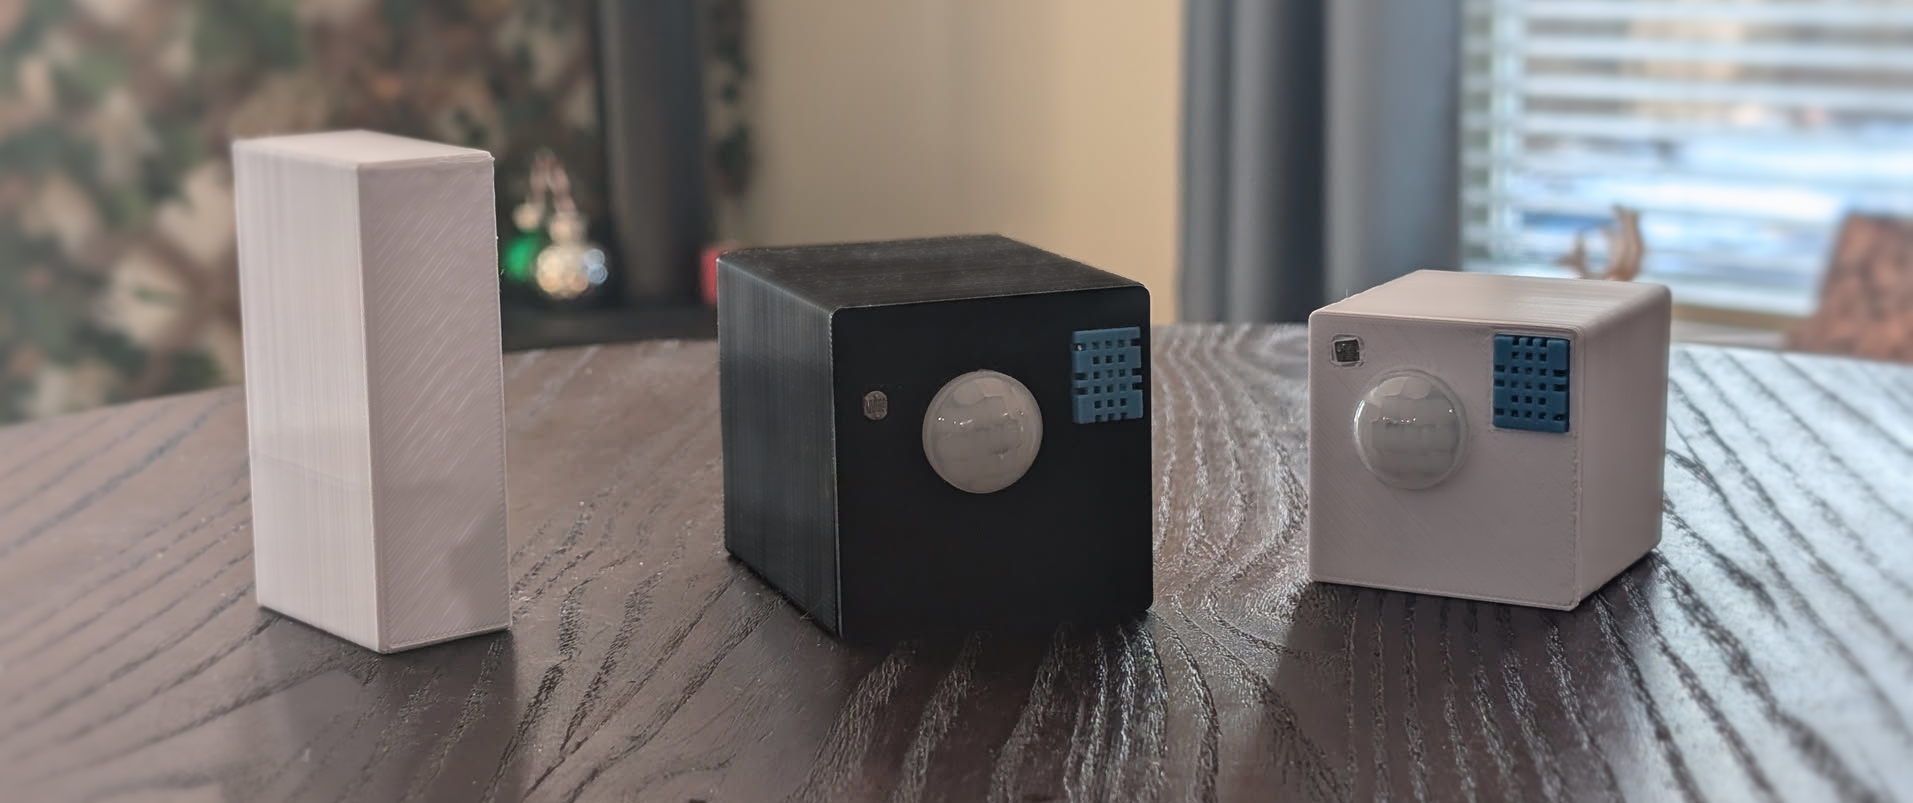
Only Sensor
The only DIY home automation sensor you'll ever need.
Fully open source ESPHome sensors compatible with Home Assistant that can be built at home without custom PCBs.
The sensors
Each sensor can be customized to only include the features you need, and there are multiple enclosure designs available. Any stand or wall-mounting option can be used, including the Twystlock system.
The estimated costs below were based on material costs at the time of publication.
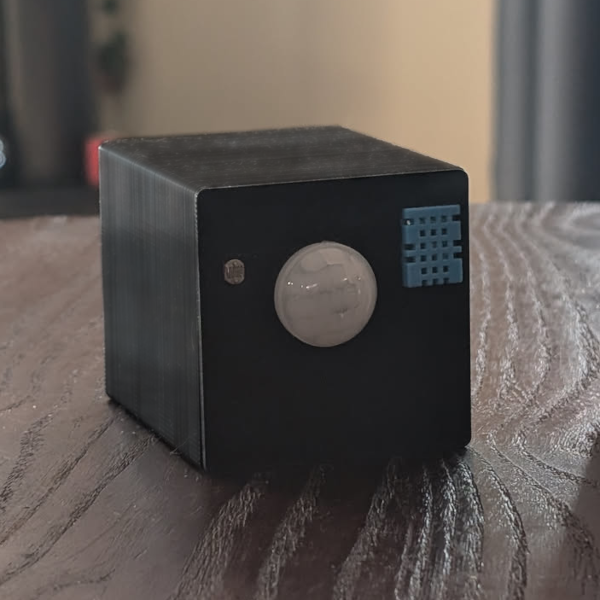
Only Sensor 5
- mmWave presence
- PIR motion detection
- Temperature
- Humidity
- LUX
Cost to build: ~$26.66
Details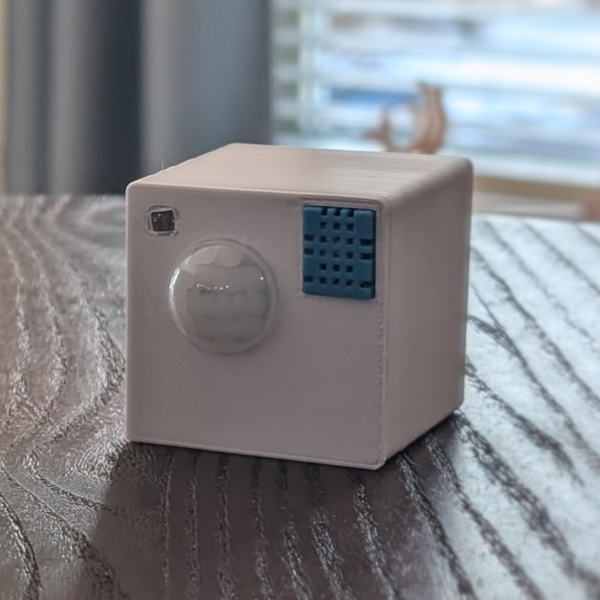
Only Sensor 4
- PIR motion detection
- Temperature
- Humidity
- LUX
Cost to build: ~$19.37
Details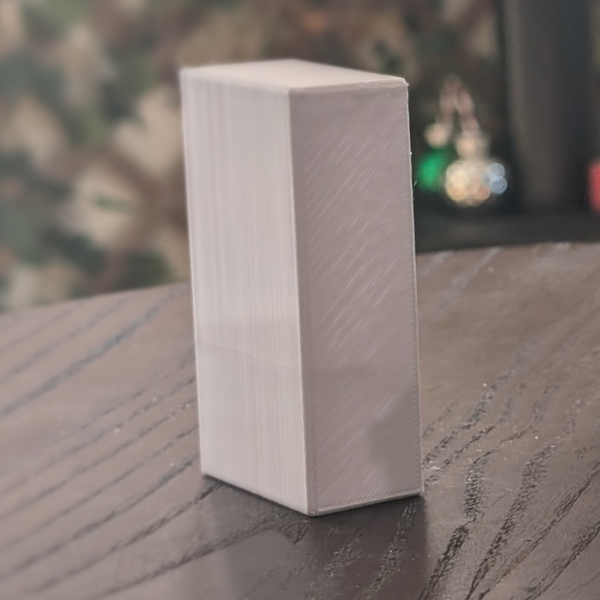
Only Sensor 8-AQ
- PM <10µm AQI
- PM <2.5µm AQI
- PM <1µm AQI
- NOX
- VOC
- Humidity
- Temperature
Cost to build: ~$36.27
Details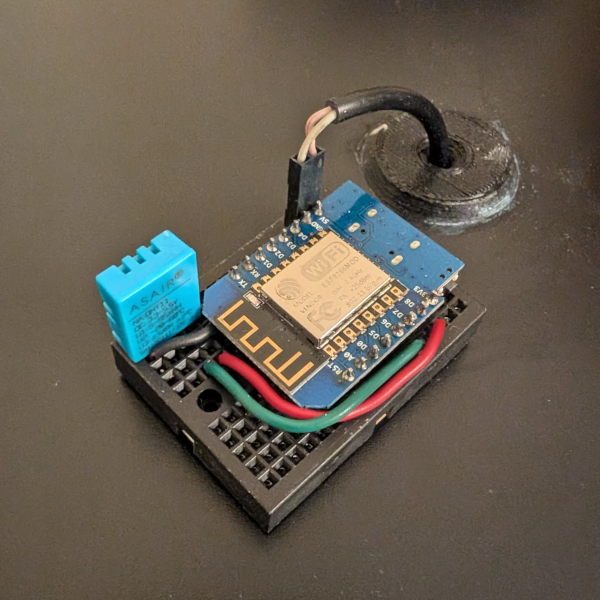
Only Sensor 2-TH
- Temperature
- Humidity
Cost to build: ~$2.19
Details
The build
Each sensor listed above has it's own independent wiring diagram, case, and ESPHome configuration file contained or linked in it's details page.
The software
The easiest way to set things up is to use Docker. We will not be covering the install of ESPHome server for Home Assistant, or Docker, as there are many great guides already online for this.
First, clone the Only Sensor repo:
git clone https://github.com/Fmstrat/OnlySensor.git
cd OnlySensor
Then, make a "Home" folder to store the automation configurations for your home:
mkdir Home
Copy the example secrets file into the Home folder:
cp ./config/secrets.example.yaml ./Home/secrets.yaml
Edit this file accordingly. Most of this is self-explanatory other than the Home Assistant encryption key. You can find details on this in the ESPHome documentation.
If you don't wish to install ESPHome, you can run it from Docker with the following alias:
alias esphome=' \
    docker run \
        --privileged \
        --rm \
        -ti \
        -v /etc/localtime:/etc/localtime:ro \
        -v "${PWD}:${PWD}" \
        -v "${HOME}/.local/share/esphome/config:/config" \
        -v "${HOME}/.local/share/esphome/esphome:${PWD}/.esphome" \
        -v "${HOME}/.local/share/esphome/cache:/root/cache" \
        -v "${HOME}/.local/share/esphome/penv:/root/.platformio/penv" \
        -w "${PWD}" \
        ghcr.io/esphome/esphome'
If you are building an OS5, you will need to update the firmware on the LD2450. You do this with a mobile app called HLKRadarTool which can be found on Google Play or the Apple App Store. Supply power to the board, and the app will walk you through the rest.
Next, copy the configuration you need into your Home folder. For this example, we'll assume it's an OS5 that will be in your Kitchen.
cp ./config/only-sensor-5.yaml Home/kitchen-os5.yaml
Edit this, file, changing the below options as needed. You do not need to change anything else in the file as the rest of the variables are pulled from your secrets file.
esphome:
  name: "kitchen-os5"
  friendly_name: "Kitchen OS5"
Lastly, plug the ESP device into the computer via USB with nothing attached to the GPIO pins, and flash with:
cd Home
esphome run kitchen-os5.yaml
After that, assemble your sensor and you should be ready to add it to ESPHome and Home Assistant!